PuTTY Key Generator (PuTTYgen) Download for Windows: The Complete 2026 Guide
Everything you need to safely download PuTTYgen, generate your first SSH key pair, convert PEM to PPK, and fix the most common errors — no jargon overload, no fluff.
If you’ve ever needed to connect to a remote server safely, you’ve probably run into the term SSH key. And if you’re on Windows, there’s a good chance someone told you to “just use PuTTYgen.” But what actually is it, where do you get it safely, and how do you use it without breaking anything?
This guide walks you through everything from downloading PuTTY Key Generator on Windows 10 or Windows 11, to generating your first SSH key pair, converting PEM files to PPK, and fixing the most common errors people run into. No jargon overload, no fluff — just a clear, practical walkthrough.
What Is PuTTY Key Generator (PuTTYgen)?
PuTTYgen is a free, open-source tool that creates SSH key pairs — a public key and a private key — used to log in to remote servers without typing a password every time. It’s a companion utility to PuTTY, the well-known terminal emulator built by Simon Tatham, and it’s been a staple in the Windows sysadmin toolkit since the early 2000s.
In plain English: instead of remembering a password, your computer holds a private key, and the server holds the matching public key. When you connect, they “shake hands” cryptographically, and if the keys match, you’re in. It’s faster, and honestly, a lot more secure than password logins.
PuTTYgen supports several key types, including RSA, DSA, ECDSA, and ED25519, and it saves keys in PuTTY’s native .ppk format — which is different from the OpenSSH format used on Linux and macOS. That difference trips up a lot of new users, and we’ll cover exactly how to handle it later in this guide.
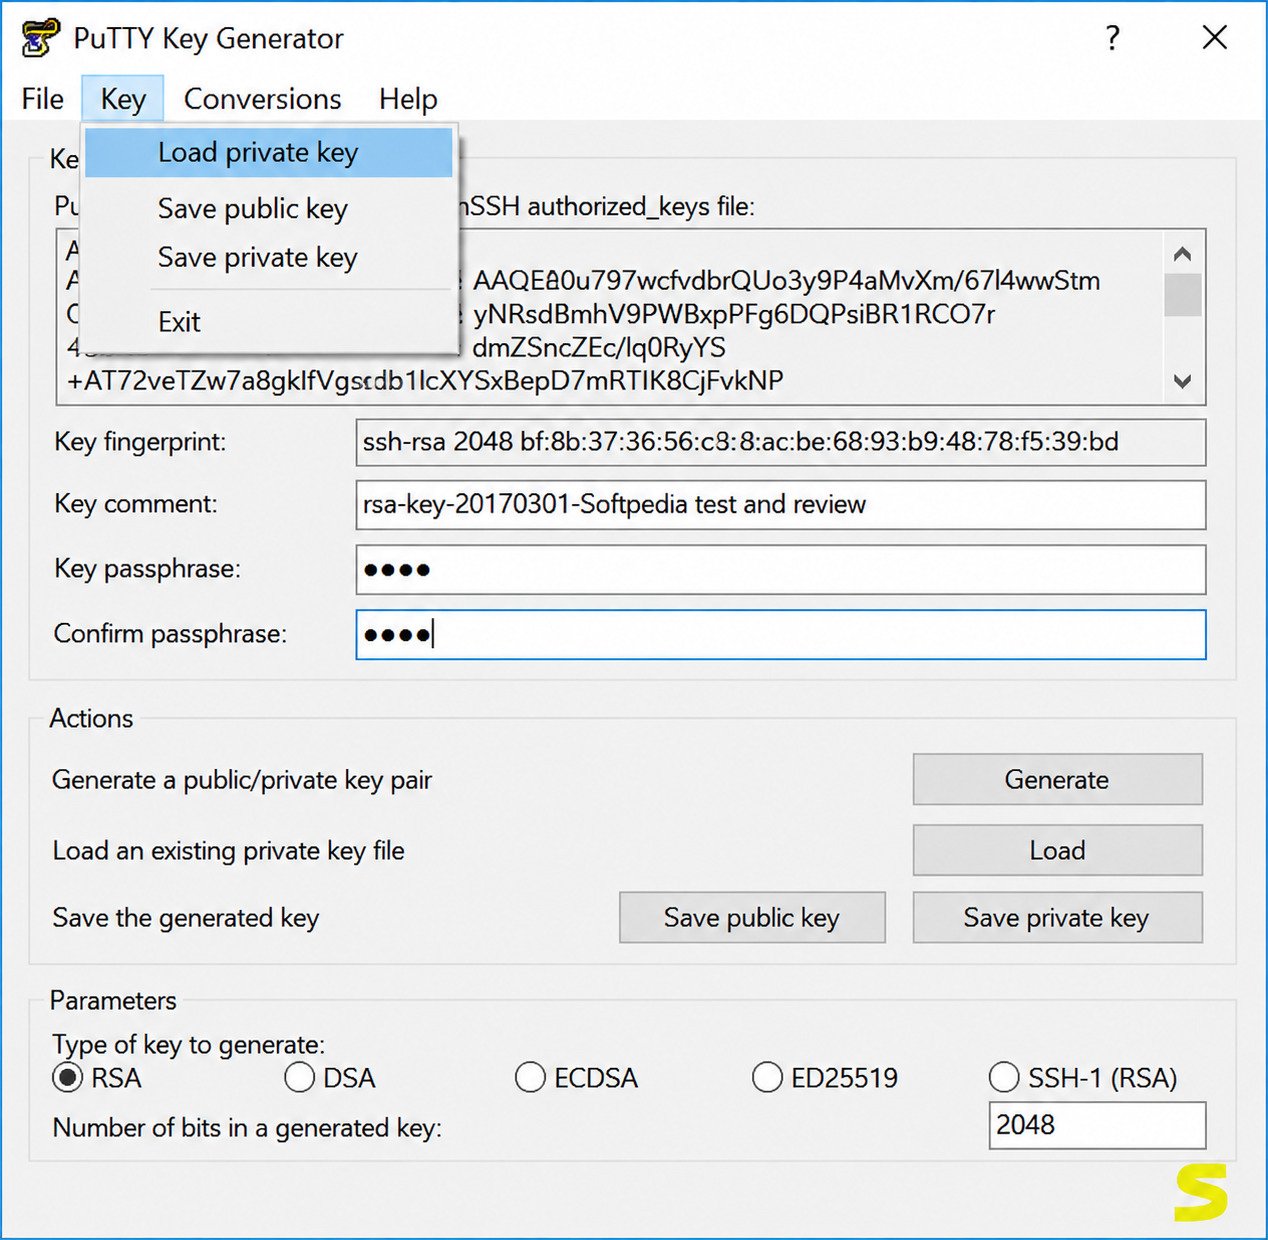
PuTTYgen Download for Windows
Downloading PuTTYgen is straightforward, but where you download it from matters. Because it’s such a widely used tool, plenty of third-party sites host repackaged installers — some bundle extra software you didn’t ask for.
The safest route is always the official PuTTY project page, maintained by its original developer. From there, you can grab either the full PuTTY suite (which includes PuTTYgen) or the standalone puttygen.exe file.
Here’s a simple breakdown of your download options:
| Download Type | File | Best For |
|---|---|---|
| Full PuTTY installer | putty-64bit-installer.msi | Users who want PuTTY, PuTTYgen, and Pageant together |
| Standalone PuTTYgen | puttygen.exe | Users who only need key generation, no terminal client |
| Portable version | puttygen.exe (no install) | USB drives, locked-down work PCs |
PuTTYgen Download for Windows 11
Good news: PuTTYgen runs natively on Windows 11, no compatibility mode required. Both the 32-bit and 64-bit builds install cleanly, and the interface looks and behaves exactly the way it has for years — simple, no-frills, and functional.
If you’re on a modern machine (which, in 2026, almost everyone is), grab the 64-bit installer. It’s optimized for current hardware and is the version most tutorials and documentation assume you’re using.
PuTTYgen Download for Windows 10
Windows 10 users are in the same boat — PuTTYgen works without any special tweaks. The tool has always prioritized backward compatibility, which is part of why it’s remained the default choice for so many IT teams over the years.
One small tip: if your organization uses Group Policy restrictions, the portable .exe version is often easier to run than the full installer, since it doesn’t require admin rights to launch.
PuTTYgen 64-Bit Download
For virtually all modern PCs, the 64-bit version is the right pick. It handles larger key sizes more efficiently and is the actively maintained build going forward. The 32-bit version still exists, but it’s really there for legacy systems — old laptops, older Windows builds, or specific enterprise environments that haven’t upgraded.
Unless you have a specific reason to need 32-bit, go with 64-bit. It’s the default recommendation on the official download page for a reason.
How to Download and Install PuTTYgen
Getting PuTTYgen up and running takes just a few minutes. Here’s the process from start to finish.
- Visit the official PuTTY download page. Avoid random mirror sites — stick to the source maintained by the developer.
- Choose your installer. Pick the 64-bit MSI installer for the full suite, or the standalone puttygen.exe if you only need the key generator.
- Run the installer. Accept the license terms, choose an install folder (the default is fine for most users), and let it complete.
- Launch PuTTYgen from the Start Menu or desktop shortcut.
- Verify it opened correctly. You should see a clean window with a “Generate” button, a key type selector, and empty fields for your key details.
That’s it — no license key, no account creation, no hidden subscription. It’s genuinely free software.
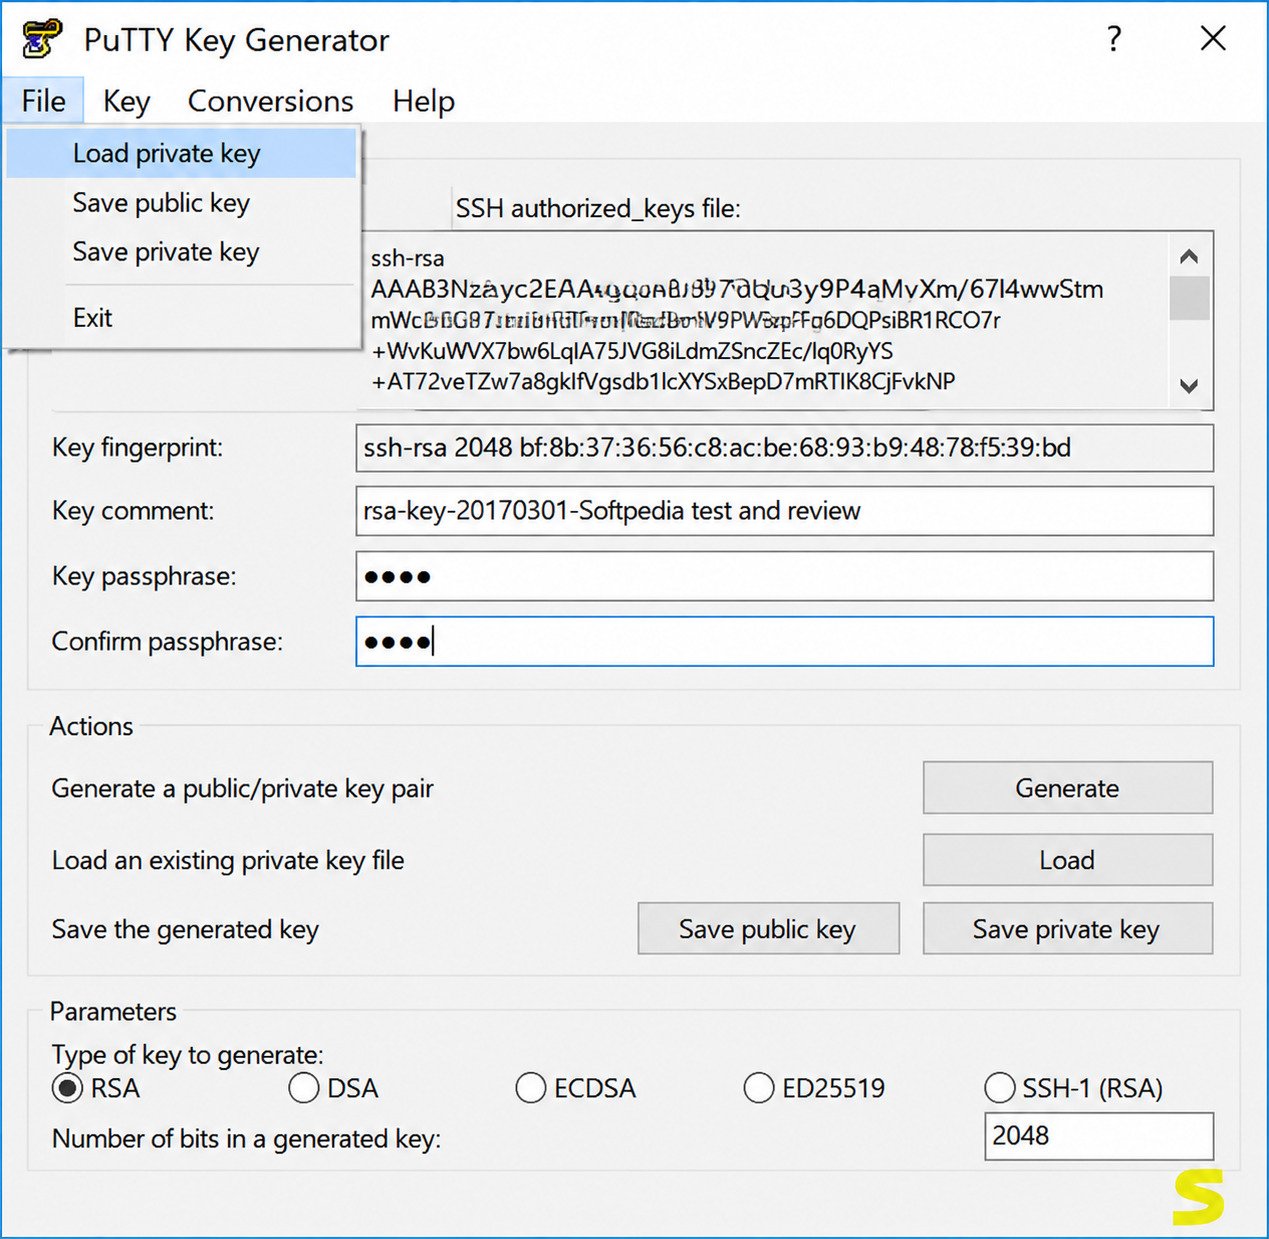
PuTTYgen Installer Download
The installer version bundles PuTTYgen alongside the rest of the PuTTY suite — the terminal client, pscp for file transfers, plink for scripting, and pageant, the SSH key agent. If you’re setting up a new machine for remote server work, this is usually the better choice, since you’ll likely want those other tools eventually anyway.
PuTTYgen Portable Download
Prefer not to install anything? The portable version is a single .exe file you can run directly from a USB drive or a folder — no installation wizard, no registry entries. It’s a favorite among consultants and IT admins who move between machines and don’t want to leave software behind (or don’t have permission to install anything in the first place).
PuTTYgen Latest Version
PuTTYgen is updated alongside PuTTY itself, and releases tend to focus on security hardening, bug fixes, and support for newer cryptographic standards. It’s worth checking the official changelog occasionally, especially if you manage keys for production servers — staying current matters more here than with most everyday software, simply because this tool touches your security posture directly.
How to Use PuTTY Key Generator
Once installed, PuTTYgen is genuinely simple to use — the interface hasn’t changed much in years, which is arguably a feature, not a flaw. Here’s what the main workflow looks like.
Generate an SSH Key with PuTTYgen
Creating a new SSH key pair takes just a few clicks:
- Open PuTTYgen.
- Under “Parameters,” select your key type — RSA and ED25519 are the most commonly recommended today.
- Set the key size if using RSA (2048-bit is the old minimum; 3072 or 4096-bit is the safer modern choice).
- Click Generate, then move your mouse randomly over the blank area — this generates the randomness needed for a secure key.
- Once complete, you’ll see your public key displayed at the top of the window.
- Add a passphrase (strongly recommended) to protect your private key if the file is ever lost or stolen.
- Save both the public and private keys somewhere safe.
That mouse-wiggling step often confuses first-timers, but it’s a genuinely important part of the process — it’s literally how the tool gathers entropy to make your key unpredictable.
Save an SSH Private Key as PPK
After generating your key, click “Save private key.” PuTTYgen will ask if you want to save without a passphrase — always choose “Yes” only if you fully understand the risk, since an unprotected private key file can be used by anyone who gets hold of it.
The file will save with a .ppk extension, which is PuTTY’s proprietary format. This file is what you’ll load into PuTTY or Pageant later when connecting to your server.
Load an Existing SSH Key in PuTTYgen
Already have a key generated elsewhere — say, on a Linux server or through OpenSSH? You can import it:
- Open PuTTYgen and click “Load.”
- Change the file filter to “All Files” if your key doesn’t show up (OpenSSH keys often don’t have a .ppk extension).
- Select your key file and open it.
- PuTTYgen will convert it in memory — you can then save it as a .ppk file for use with PuTTY.
This is one of PuTTYgen’s most useful features, since it bridges the gap between Windows tools and the Linux/macOS SSH ecosystem.
PuTTY SSH Key Generator: The Bigger Picture
It helps to understand where PuTTYgen fits into the overall SSH authentication process, especially if you’re new to remote server management.
Generate SSH Keys with PuTTYgen
SSH key authentication replaces the traditional username-and-password login with a cryptographic key pair. The public key goes on the server (usually inside an authorized_keys file), while the private key stays on your local machine, ideally protected with a passphrase.
Compared to passwords, this approach offers a few real advantages:
- Stronger security — private keys are far harder to brute-force than passwords.
- No password fatigue — no need to remember or rotate login credentials manually.
- Automation-friendly — scripts and tools can authenticate without a human typing anything.
PuTTY Key Generator for SSH Authentication
Once your key pair exists, using it with PuTTY (the terminal client) is simple: open PuTTY, go to Connection → SSH → Auth → Credentials, and browse to your .ppk private key file. From then on, PuTTY will use that key automatically whenever you connect to that saved session.
SSH Key Generator for Windows
While PuTTYgen has long been the go-to on Windows, it’s worth knowing it’s not the only option anymore. Modern Windows versions ship with OpenSSH built in, which includes its own ssh-keygen command-line tool. PuTTYgen still holds its ground, though, thanks to its graphical interface — a real advantage for users who’d rather click buttons than memorize command-line flags.
PPK Key Generator: Everything About the .PPK Format
What Is a PPK Key?
A PPK file (PuTTY Private Key) is PuTTY’s own storage format for private SSH keys. It’s functionally similar to the OpenSSH private key format, but structured differently — which is exactly why direct compatibility issues pop up so often between Windows and Linux/macOS environments.
How to Generate a PPK Key with PuTTYgen
The process is identical to standard key generation covered earlier: generate a key pair, then click “Save private key” to store it as a .ppk file. If you already have an OpenSSH key, you’ll need to convert it first (see the next section).
PPK Generator for Windows
For Windows users, PuTTYgen remains the standard PPK generator. It’s lightweight, doesn’t require installation of additional dependencies, and integrates directly with PuTTY, WinSCP, and other popular Windows SSH clients.
Convert PEM to PPK with PuTTYgen
Cloud platforms like AWS commonly hand out SSH keys in .pem format, which PuTTY can’t read directly. Converting is easy, though.
How to Convert PEM to PPK
- Open PuTTYgen.
- Click “Load” and select your .pem file (switch the file filter to “All Files” if needed).
- PuTTYgen will read and display the key.
- Click “Save private key” and choose a location.
- Your key is now saved in .ppk format, ready to use with PuTTY or WinSCP.
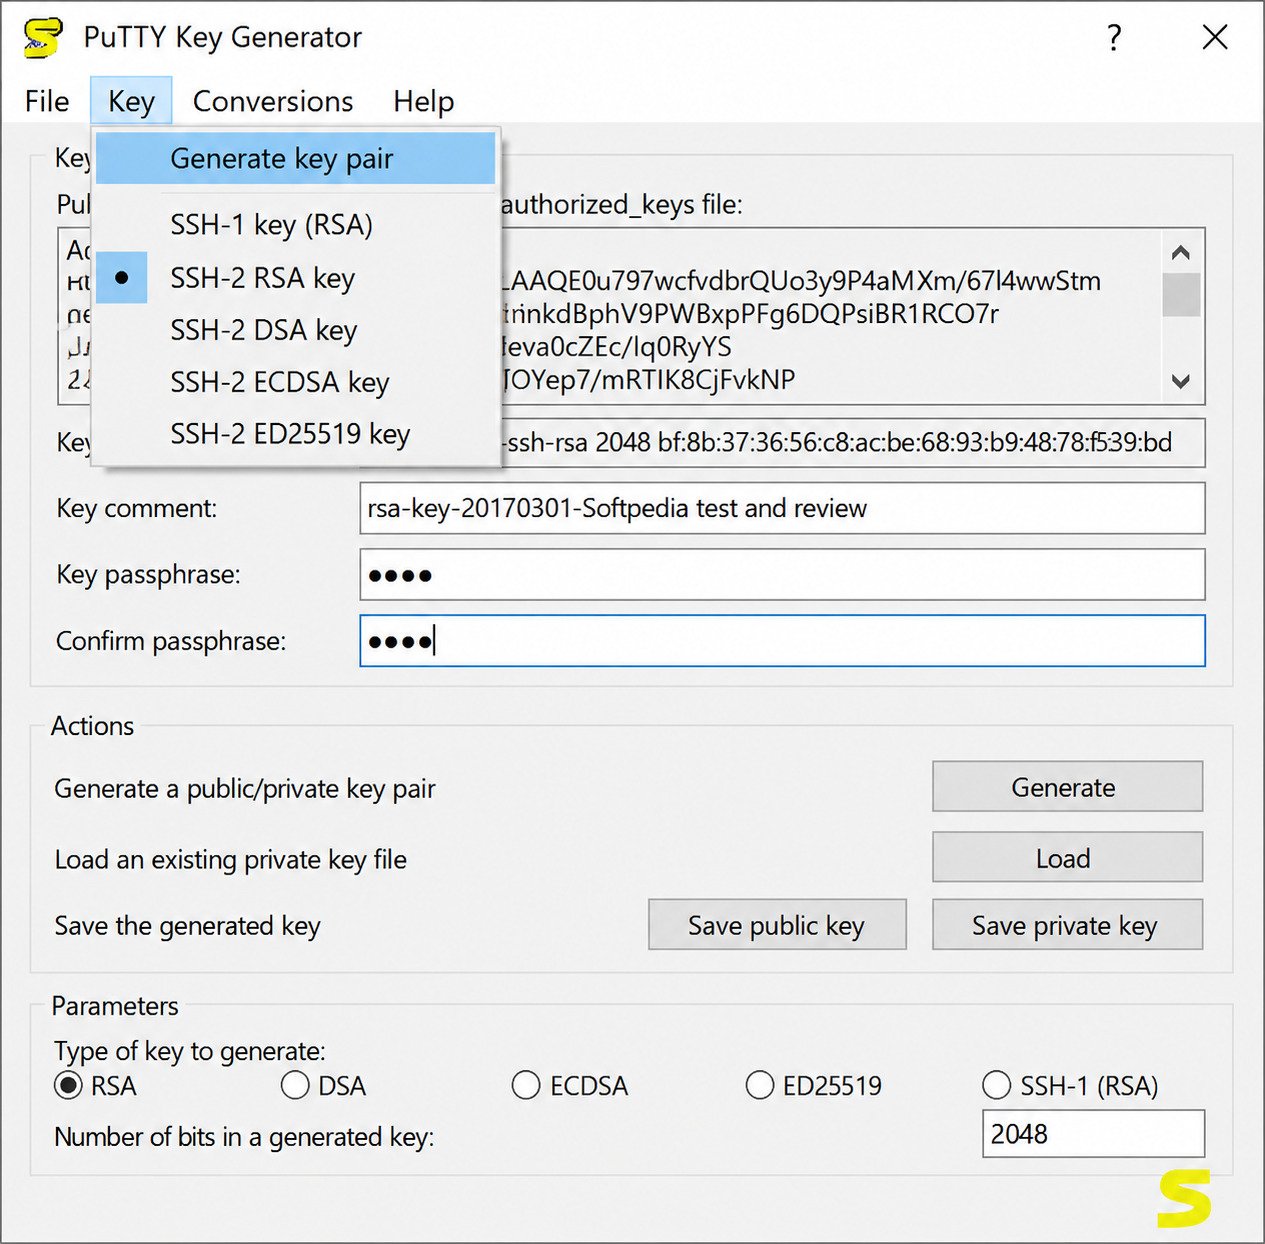
Import a PEM Key into PuTTYgen
If PuTTYgen doesn’t recognize your .pem file at first glance, double-check the file extension filter in the load dialog — this is the single most common reason people think their key “won’t load” when really it’s just hidden from view.
Save a PEM Key as PPK
Once converted and saved, your original .pem file remains untouched — PuTTYgen creates a new .ppk file rather than overwriting anything. It’s a good habit to keep both versions backed up somewhere secure, in case you ever need the original OpenSSH format again for a Linux-based tool.
PuTTYgen Key Types and Options
Choosing the right key type matters more than most people realize. Here’s a quick comparison to help you decide.
| Key Type | Strength Today | Best Use Case |
|---|---|---|
| RSA | Strong at 3072/4096-bit | Widest compatibility, older systems |
| ED25519 | Very strong, modern | Best default choice for new setups |
| ECDSA | Strong, but less favored now | Legacy support, specific server requirements |
| DSA | Outdated | Avoid — deprecated for security reasons |
RSA — Strengths
- Works with virtually every SSH server and client
- Well understood and battle-tested
- Safe at 3072/4096-bit key sizes
RSA — Trade-offs
- Needs a larger key size to match modern algorithms
- Slower key generation than ED25519
RSA Keys
RSA remains the most universally supported key type. It works with virtually every SSH server and client out there. The trade-off is that you need a larger key size (3072-bit minimum, ideally 4096-bit) to match the security level of newer algorithms.
ED25519 Keys
ED25519 is the modern favorite among security-conscious admins. It’s fast, produces small key files, and offers excellent security without needing a huge key size. If your server supports it — and most current ones do — it’s generally the smarter pick over RSA.
ECDSA Keys
ECDSA sits somewhere in the middle. It’s cryptographically solid, but it’s gradually being phased out in favor of ED25519 for new deployments, largely due to some historical concerns around implementation randomness.
SSH-2 Key Generation
PuTTYgen defaults to SSH-2, the modern SSH protocol version, which is exactly what you want. SSH-1 is obsolete and insecure — if you ever see an option for it, there’s no legitimate reason to use it in 2026.
Common PuTTYgen Problems and Solutions
Even a simple tool runs into hiccups occasionally. Here are the issues people run into most, and how to fix them.
PuTTYgen Is Not Opening on Windows
If PuTTYgen won’t launch:
- Confirm you downloaded the correct version (32-bit vs. 64-bit) for your system.
- Try running it as Administrator.
- Check that your antivirus hasn’t quarantined the executable — this happens occasionally with security tools that flag key-generation software cautiously.
- Redownload the file in case the original download was corrupted.
PuTTYgen Cannot Load a Private Key
This error usually comes down to one of a few causes:
- The file filter in the “Load” dialog is set to .ppk only, hiding your OpenSSH or PEM file.
- The key file is corrupted or was only partially downloaded.
- You’re trying to load a public key file instead of the private one — an easy mix-up.
PPK Key Not Working in PuTTY
If PuTTY rejects your .ppk file during login:
- Double-check the key path in Connection → SSH → Auth → Credentials.
- Make sure the public key was actually added to the server’s authorized_keys file.
- Confirm you’re using the matching username for that key on the server side.
How to Fix PuTTYgen Key Conversion Errors
When converting keys between formats fails:
- Verify the source file isn’t encrypted with a passphrase that wasn’t entered correctly.
- Make sure you’re loading the private key, not the public one, for conversion.
- Try re-exporting the original key from its source system if the file appears malformed.
If you regularly work with other Windows-based downloader and utility tools, resources like this 4K Stogram guide can be a handy reference for setting up and troubleshooting similar Windows software.
PuTTYgen Frequently Asked Questions
Yes. PuTTYgen is completely free and open-source software, distributed under the MIT License, with no hidden costs or subscriptions.
The safest source is the official PuTTY project page maintained by developer Simon Tatham, which offers both the full installer and standalone executable.
Yes, PuTTYgen runs natively on both Windows 10 and Windows 11 without needing compatibility mode or extra configuration.
Yes, a 64-bit build is available and recommended for all modern systems, alongside a legacy 32-bit version for older machines.
Open the app, select a key type like RSA or ED25519, click Generate, move your mouse to add randomness, then save your public and private keys.
Load your .pem file through the “Load” button, then click “Save private key” to export it in PuTTY’s native .ppk format.
A .ppk file stores your private SSH key in PuTTY’s proprietary format, used to authenticate securely when connecting to remote servers.
No — PuTTY is the terminal client used to connect to servers, while PuTTYgen is a separate tool used specifically to create and manage SSH keys.
Final Thoughts
PuTTYgen isn’t flashy, and it doesn’t need to be. It’s a small, focused tool that does one job — generating and managing SSH keys — and it does that job reliably, which is exactly why it’s stuck around for over two decades of Windows remote administration.
Whether you’re setting up your first server connection or converting a cloud provider’s PEM key into something PuTTY can use, the process really does boil down to a handful of clicks once you understand what each button does. Download it from the official source, take the extra minute to set a passphrase, and you’ll have a secure, dependable setup ready whenever you need it.
Official download source: puttygen.com
2 Responses